Working with Unity Integration
Learn how Needle Engine integrates with Unity - visual features, scene structure, and the export workflow
Learn how Needle Engine brings Unity's powerful visual tools to the web—no code required for many features!
:::tip Before You Start Make sure you have Needle Engine installed in Unity. See Unity Installation for setup instructions. :::
How Needle Engine Works with Unity
Needle Engine provides tight integration with the Unity Editor, allowing you to:
Design visually in Unity's familiar interface
Use built-in Unity features (shaders, lightmaps, animation, physics)
Export to optimized web formats automatically
See changes instantly with hot reload
:::important Key Concept: Unity + glTF + Web Needle Engine does NOT compile C# code to WebAssembly.
The workflow:
Unity Editor - Design scenes, set up components, configure visual features
glTF Export - Scene converts to glTF format automatically
Web Runtime - Browser loads and displays your scene
Why? Small file sizes, fast loading, and works on any device with a browser.
Read more: Vision • Technical Overview :::
:::details Video: Getting Started with Unity (16 minutes) :::
What Works Out of the Box
Many powerful features work without writing code!
🎬 Animation
Animate visually with Unity's powerful animation tools:
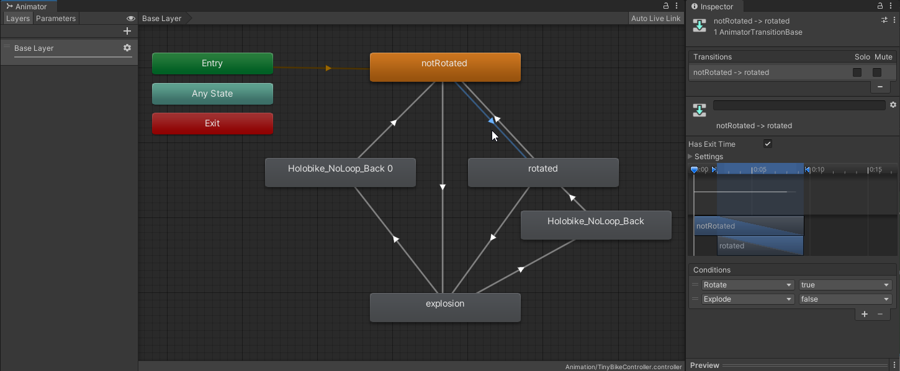
Animator State Machines
Create complex animation behaviors without code:
Set up Animation Controllers in Unity
Define states and transitions
Use parameters to control animations
Add layers for animation blending
All exported and working on the web automatically!
Timeline Sequencing
Create cinematic sequences and cutscenes:
Timeline - Sequence animations, audio, and events
Playable Director - Control playback
Perfect for product showcases, architectural walkthroughs, and interactive stories.
Read more: Animation Components
⚙️ Physics
Visual physics setup - no coding required for basic interactions:
Add physics components in Unity:
Rigidbody - Objects respond to gravity and forces
Colliders - Define collision shapes (Box, Sphere, Mesh)
Physics Materials - Bounce, friction properties
Joints - Connect rigidbodies with constraints
Configure visually:
Mass, drag, and gravity settings
Collision layers and masks
Trigger zones (Is Trigger checkbox)
Constraints (freeze position/rotation)
Everything exports and works on the web with the Rapier physics engine!
Shaders & Materials
Create beautiful materials visually with Unity's tools:
PBR Materials - Standard/URP materials export automatically
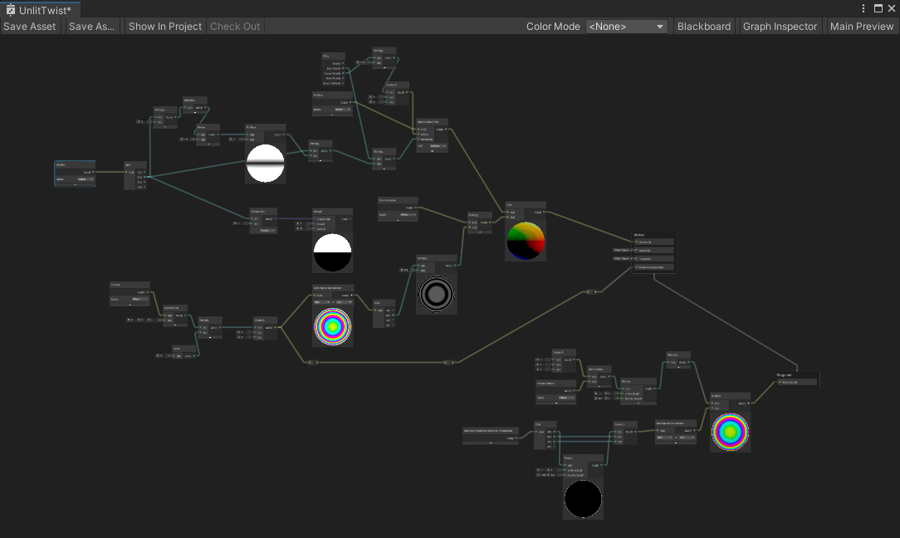
Shader Graph - Node-based shader creation without code
Custom Shaders - Export shader variants and properties
What you can adjust:
Colors, textures, and material properties
Metallic, roughness, emission
Transparency and rendering modes
Shader properties (exposed as material properties)
Artists can create shaders in Unity and Needle Engine handles the conversion to web-compatible shaders automatically.
Read more: Materials & Shaders
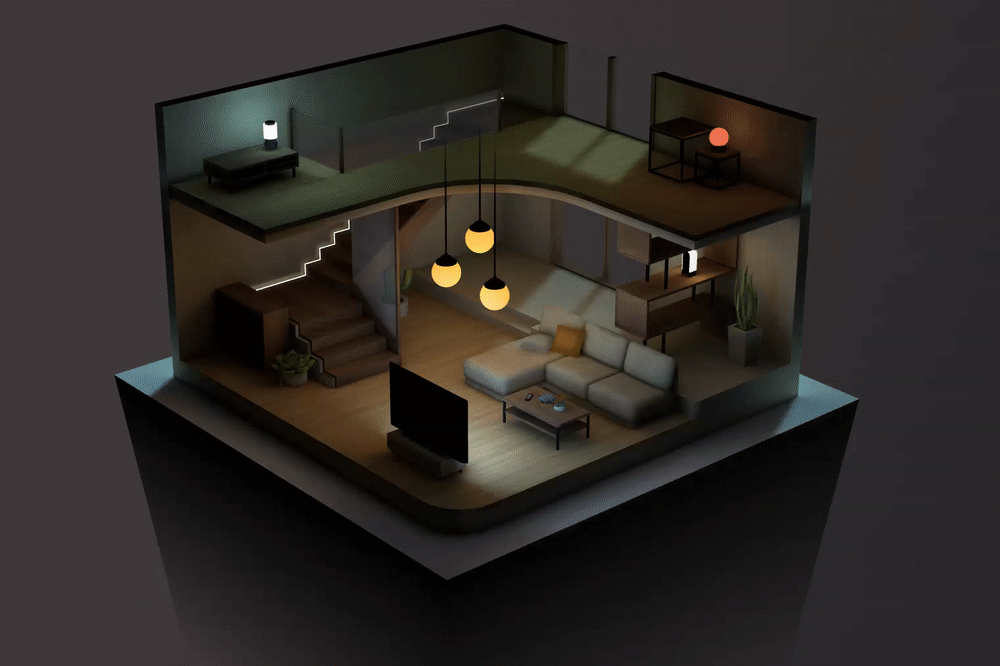
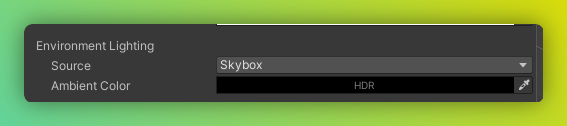
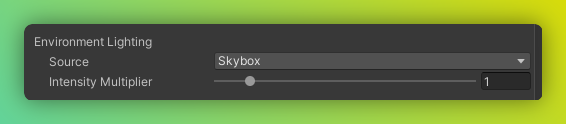
💡 Lightmaps
Bake beautiful lighting in Unity and it appears on the web automatically:
Setup (no code required):
Mark objects as Static in Unity
Add lights or use emissive materials
Click Generate Lighting
Needle Engine exports lightmaps automatically
Works with:
Unity's built-in lightmapper
Third-party solutions like Bakery
Multiple scenes with independent lightmaps
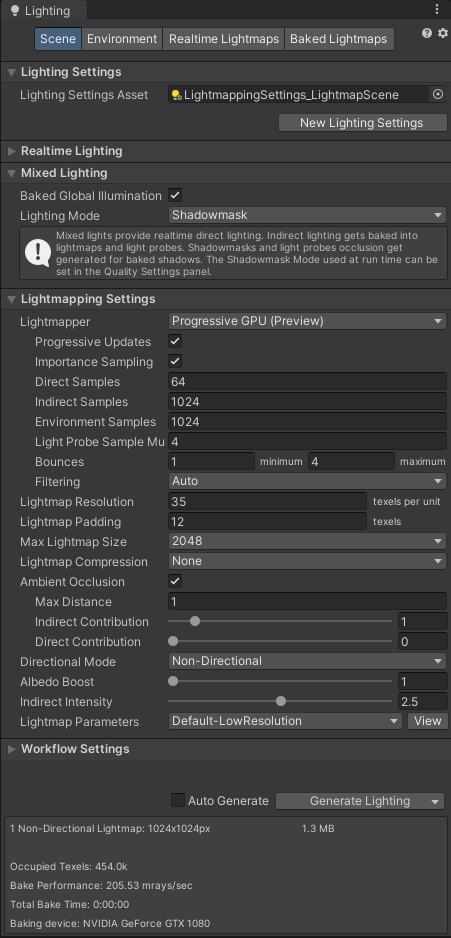
Recommended Unity Lightmap Settings
For best performance and quality on the web:
Lightmap Encoding: Normal Quality (adjust in Project Settings > Player)
Progressive GPU (faster and usually accurate enough for small scenes)
Non-Directional Lightmaps
Max Lightmap Size: 2k (you can go higher, but expect large files)
Max 4× 2k lightmaps per scene (you can go higher, but expect large files)
Compress Lightmaps: OFF (increases quality; otherwise compressed again at export)
Working with multiple scenes: Disable "Auto Generate" and bake lightmaps explicitly. Otherwise, Unity will discard temporary lightmaps on scene change.
Mixing Baked and Non-Baked Objects
For best results when mixing baked and non-baked objects, use these Unity lighting settings:
Unity 2021.3+:
Unity 2020.3+:
If you have no baked objects in your scene, these settings also work:
What you see in Unity is what you get on the web!
🎨 Post-Processing
Add professional visual effects with post-processing:
Bloom - Glowing highlights
SSAO - Ambient occlusion for depth
Depth of Field - Focus effects
Color Correction - Adjust tone and mood
Tonemapping - Control exposure and contrast
Add a Volume component to your camera and configure effects visually in Unity. Effects work on all devices!
See all post-processing components
🎨 Particle Systems
Create stunning visual effects:
Unity's Particle System works on the web! Configure particles visually:
Emission rates and bursts
Particle lifetime and size
Colors and gradients
Forces and velocity
Collision and sub-emitters
Great for fire, smoke, sparkles, rain, and magical effects.
🖼️ UI Canvas
Build interactive UI without code:
Unity's Canvas system works on the web:
Buttons, text, images, and input fields
Layout groups for responsive design
Screen space and world space UI
Event triggers for interactions
Perfect for HUDs, menus, and interactive elements.
👥 Multiplayer (No Code)
Add multiplayer with built-in components:
SyncedRoom - Automatic room creation and joining
SyncedTransform - Sync object positions automatically
SyncedCamera - See other users' viewpoints
Voip - Voice chat with spatial audio
Just add components in Unity - no networking code needed!
🥽 XR/AR Support
VR and AR with visual setup:
WebXR component - Enable VR/AR mode
XR Rig - Configure VR camera and controllers
AR Session Root - AR placement and scale
XR Flag - Show/hide objects in VR/AR
Works on Meta Quest, Apple Vision Pro, and AR on mobile devices!
Scene Structure & GameObjects
GameObject Hierarchy
Your Unity hierarchy exports directly to the web:
Parent-child relationships maintained
Transform data (position, rotation, scale)
Object names preserved
Active state and visibility
Key concept: In three.js/Needle Engine, GameObject and Transform are the same object (Object3D).
Components
Built-in Unity components that work on the web:
Camera
Light (Directional, Point, Spot)
MeshRenderer / SkinnedMeshRenderer
MeshFilter
AudioSource
And many more!
Quick Reference: Unity → Needle Engine
GameObject
Object3D
Same object in three.js
Transform
Object3D
No separate Transform component
MonoBehaviour
Behaviour
Base class for components
C# Scripts
TypeScript/JavaScript
Runtime behavior
Static (Lightmap)
Automatic export
Just mark as Static
Animator Controller
Animator component
State machines work!
Physics Material
PhysicsMaterial
Friction/bounce settings
Canvas UI
Canvas component
World and screen space
UnityEvent
EventList
Use @serializable(EventList)
position
Local space
Use worldPosition for world
glTF Export
When you save your Unity scene, Needle Engine automatically exports to glTF format (.glb or .gltf).
What Gets Exported
Visual Assets:
Meshes and geometry
Materials and textures
Lightmaps and skyboxes
Animations and blend shapes
Particle systems
Audio files
Scene Data:
GameObject hierarchy
Transform data
Component configurations
References between objects
Optimization:
Automatic texture compression (KTX2)
Mesh compression (Draco)
Progressive loading for large scenes
LOD (Level of Detail) support
Read more: Export & Optimization
Web Project Structure
When Needle Engine creates a web project, you get:
Project location: By default, created next to your Unity project. Configure in the Needle Engine component.
Editor Sync & Hot Reload
See changes instantly without rebuilding:
Add the EditorSync component to enable live sync:
Make changes in Unity (move objects, adjust materials, change properties)
Save the scene (Ctrl+S / Cmd+S)
Browser updates automatically!
What syncs:
Transform changes
Material properties
Component field values
Hierarchy changes
Code hot-reload: TypeScript changes also reload automatically when you save.
:::details Video: From Unity Project to Live Sync with three.js (4 minutes) :::
Adding Custom Behavior (Optional)
While many features work without code, you can add custom interactivity with TypeScript:
TypeScript workflow:
Write TypeScript components in
src/scripts/C# stubs generate automatically in Unity
Add components to GameObjects visually
Configure properties in the Inspector
Common use cases:
Custom interactions (click, hover)
Game logic and rules
Data loading and APIs
Complex animations
Custom UI behavior
Learn scripting:
Create Components - Write custom components
C# to TypeScript Translation - For Unity developers
TypeScript Essentials - Language basics
Framework Integration
Needle Engine works with any web framework:
Vue.js - Reactive UI framework
React - Component-based UI
Svelte - Lightweight and fast
Next.js - React with server rendering
And more!
The default template uses Vite for fast development.
What's Next?
Continue Learning
For Unity Users:
Unity Getting Started - Step-by-step setup tutorial
For Unity Developers - Complete learning path
Add Custom Behavior:
Create Components - Write interactive code
C# to TypeScript - Translate your C# knowledge
Explore Features:
Component Reference - All built-in components
Samples & Showcase - See what's possible
Get Help
FAQ - Common questions
Discord Community - Live support
Forum - In-depth discussions
Last updated